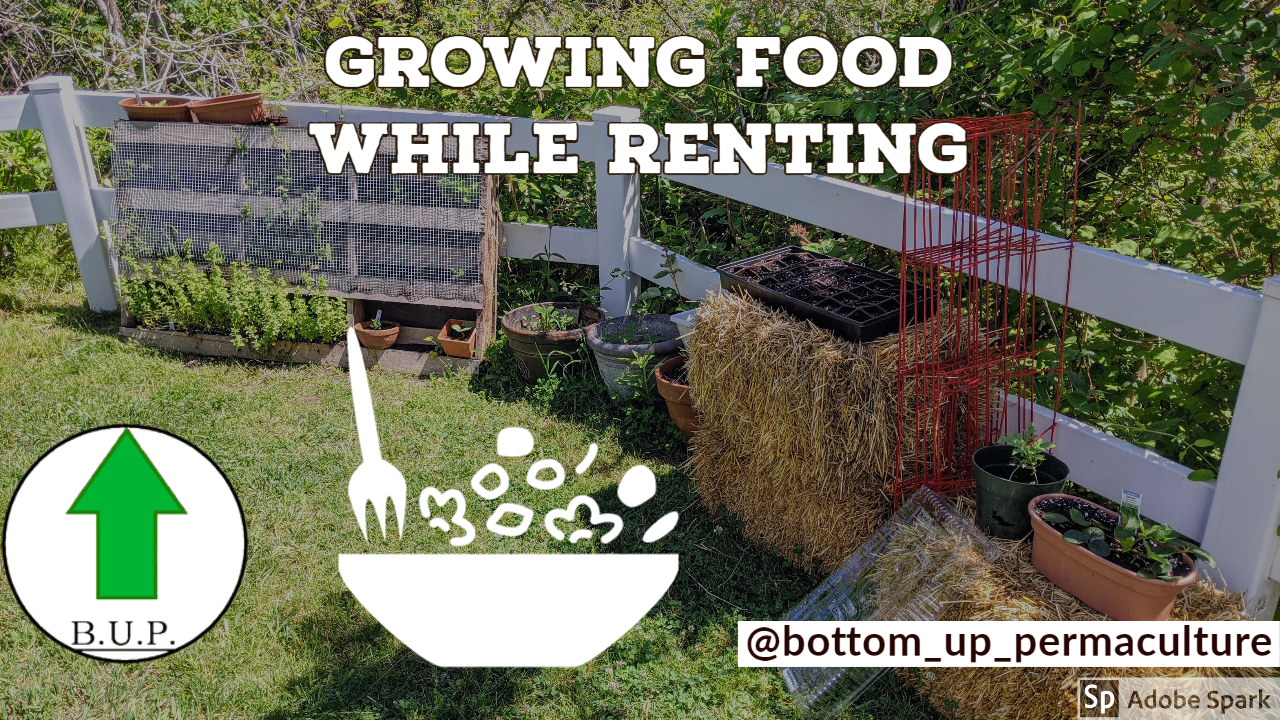
Permaculture design is founded on the basis of 12 key design principles (See What is Permaculture for a full list). No matter where you are in life, what resources you have available, and what lifestyle you live, these 12 design principles provide a framework for solving problems, working with nature, and creating spaces that are resilient and adaptive. In this series, I will go through each of the 12 permaculture design principles, explain what they mean, and share some ideas about how they can be applied to someone beginning a permaculture journey while living in a rented apartment. Check in over the coming weeks to learn about each of the principles and gain new ways of thinking about the spaces you create, wherever you might live!
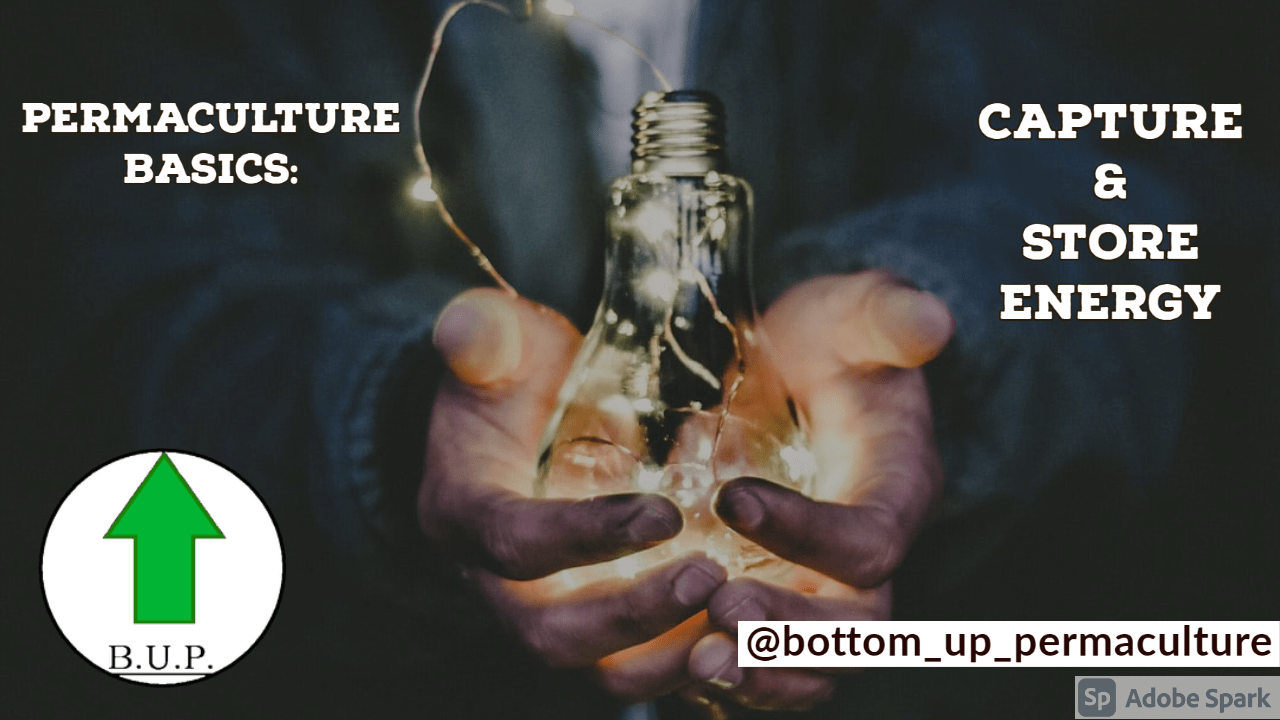
Permaculture Design Basics 2 – Catch and Store Energy
Life and Energy
At its core, life is an engine that converts light from the sun into order. The second law of thermodynamics states that the entropy (also referred to as disorder or chaos) within a system will only grow, unless energy is harnessed to counteract this natural tendency. As an example, imagine your bedroom. As you go through life and conduct activity in the room, things will only get messier and messier until you take the time and energy to deliberately reorganize and clean. You would never expect to walk into your room after being away at work and find that your bed had suddenly made itself.
Yet despite this universal tendency towards disorder, somehow the molecules of our world have organized themselves in such a way as to give rise to life. Left to its own devices, life will take the chaotic particles found in the air, soil, and water and combine them with energy captured from the sun to form complex, organized structures capable of reproduction, evolution, and even consciousness. Whether its an oak tree using photosynthesis to store energy in an acorn or a deer eating an acorn to grow antlers, life has the miraculous ability to stave off chaos long enough to create the beautiful and harmonious ecosystems in which we live. It’s easy to take this fact for granted, but without the engine of life, you wouldn’t be reading this article right now. In fact, you wouldn’t be anything at all besides scattered dust.

Photo by Shivam Patel on Pexels.com
Like any engine, life requires both fuel and supporting materials in order to run. In the same way that your car might need gas, oil, a battery, and brake pads, all put in the right places in the correct quantities to run effectively, so too does life require a specific constellation of ingredients and energy to flourish and thrive. This fact lies at the heart of the second principle of permaculture design: capturing and storing energy.
What is “Energy” in Permaculture?
As I’ve mentioned, the energy that fuels life is ultimately derived from the sun. Plants capture this energy through photosynthesis, storing the energy in molecules of sugar, and from there the sugar is used to drive the chemical reactions that grow new leaves, produce fruit, and ultimately generate the seeds that will pass the gift of life on to the next generation. When a deer eats the plants in a forest, they are consuming the sugars stored in the plants and then using that energy to drive their own metabolic processes. Consequently, sunlight is the original source of the “energy” we seek to catch and store in permaculture, and living systems are the primary “batteries” we use to store that energy.
That said, there are other sources of energy present in any natural system. Mechanical energy might take the form of water flowing in a stream or wind blowing through the trees. Chemical energy might be brought into a system in the form of gasoline, firewood, or the nutrients stored in food. Biological energy might exist as a pig eager to dig up the land looking for roots or as a farmer armed with a shovel getting ready to dig a new garden bed. Beyond these more physical forms of energy, I think it’s also worthwhile to recognize human forces, such as creative energy. At the highest levels, we can even consider such things as the spiritual energy that pervades everything we do to give our lives purpose and meaning. Good permaculture design will put all of these forms of energy to maximum use before allowing the energy to leave a site and flow back out into the universe.
Slow and Steady Wins the Race
The idiom of “drinking from a fire hose” captures the challenge of quenching your thirst when faced with a rushing torrent of water. The same issue arises when trying to harness energy. Without some clever structure, energy tends to flow very quickly towards a lower energy state, and the speed of this transformation can be problematic. Though it is impossible to keep energy contained in a system forever, there are many techniques we can use to harness this energy and channel it into regenerative and useful applications.

Photo by Oliver Sju00f6stru00f6m on Pexels.com
The Microcosm of a Cell
As a biological example of slowing down the flow of energy to improve its utility, consider the breakdown of sugar. This transformation could be accomplished in a single step through combustion by simply lighting sugar on fire and letting it burn. All of the energy would be released into the flame in a matter of seconds, and then the energy would be gone. However, the fact that your cells aren’t currently on fire indicates this isn’t the case.
In fact, it turns out that our cells carry out dozens of smaller, more controllable reactions to break glucose down into as many as 38 units of ATP, which then go on to power the cell. The start and end points of both combustion and cellular respiration are the same: sugar is converted into carbon dioxide and water while releasing energy, but the path the energy takes throughout that transformation differs. By letting the energy cascade through lots of smaller steps, our cells are better able to capture and utilize the energy that is released from the breakdown of sugars without catching on fire and without wasting the power that’s available.
The Macrocosm of a Farm
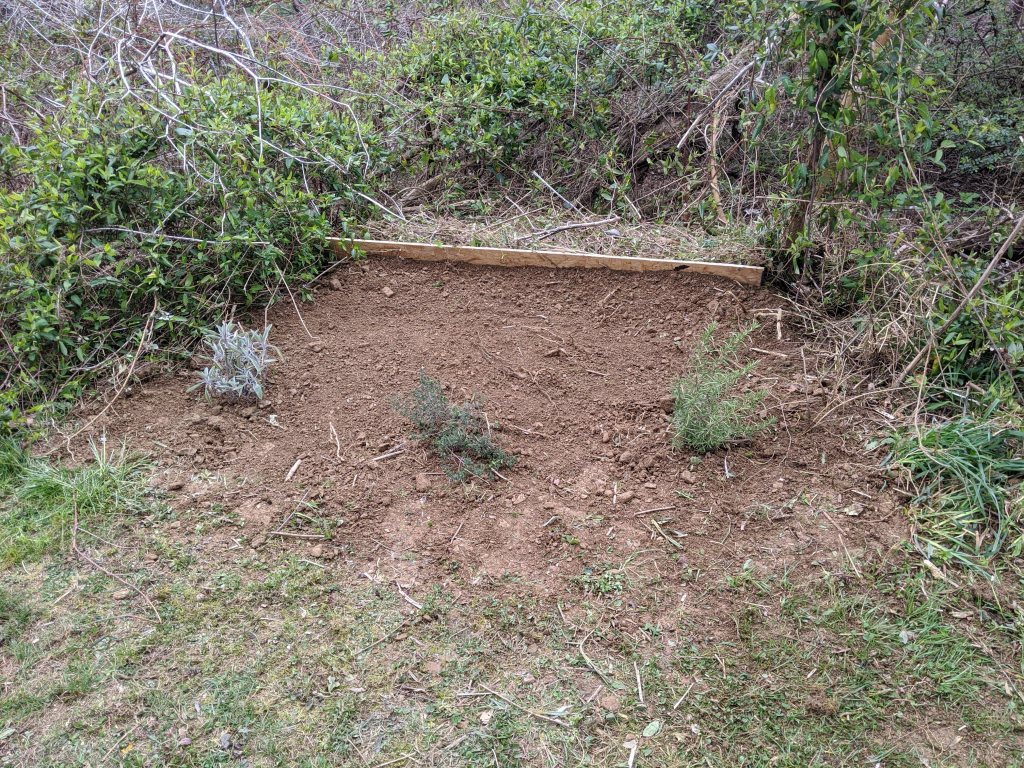
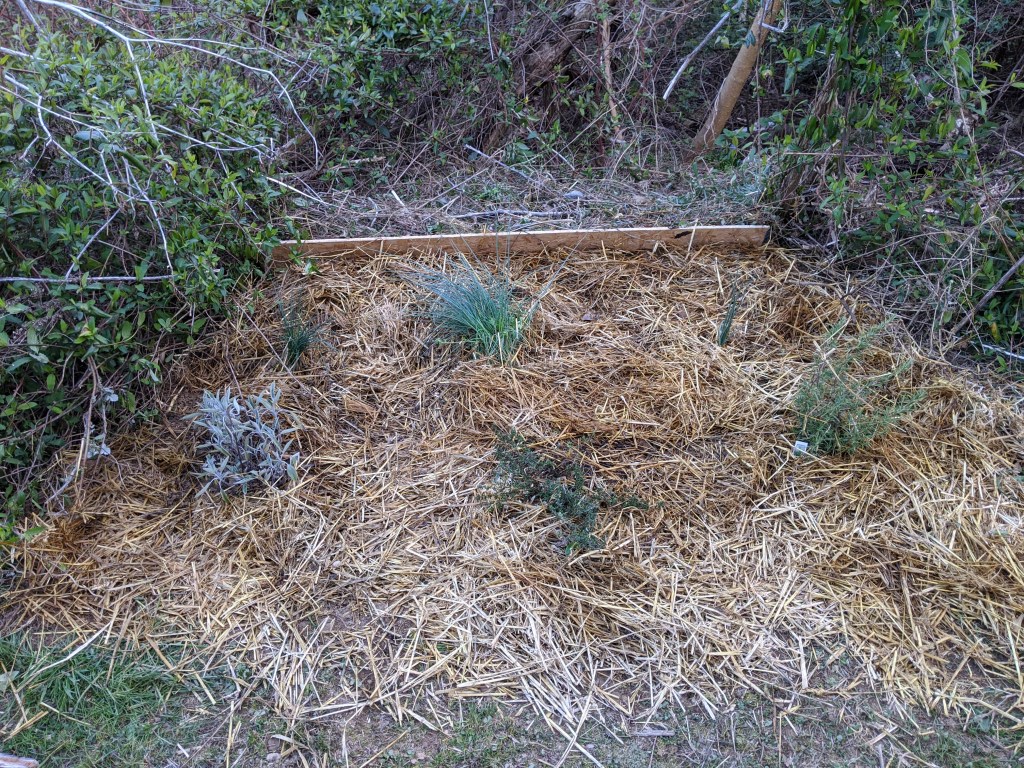
The exact same concept applies when capturing and utilizing energy in permaculture design. In most situation, our goal is to slow down the flow of energy and direct it through as many small, useful processes as possible before the energy is released from the site to continue its journey. To take the example of flowing water, it would be much more useful for water to be captured in a series of ponds, gardens, washing basins, hydroelectric turbines, and thirsty animals as it traverses a farm, rather than simply rushing past as a raging river from the top of the property to the bottom.
Effective permaculture design might use earthworks such as swales and dams to divert water in a zig-zag pattern back and forth across a property, allowing it to pool in ponds and reservoirs along the way and promoting infiltration into natural stores of groundwater. In this way, water that otherwise might have flowed through the site in a matter of minutes instead takes days or even weeks to complete its journey from the top of a hill to the bottom.

Photo by Brandon Montrone on Pexels.com
Multiplying and Maintaining Abundance
The end result of the process described above is that, without bringing any more water onto the site, the site nevertheless becomes much more richly saturated with the life-giving energy of water, allowing for irrigation, cleaning, watering of animals, aquaculture, hydroelectric power, swimming and other recreation, fishing, raising ducks, and even regulation of micro-climates. Not to mention, the site will be far more resilient to drought. When water flowed through the site quickly and without diversion, any time the source of water dried up for even a few minutes, the site would find itself deprived of moisture. Once the water has been captured and stored, however, the site can continue operating for weeks using the mass of water that had accumulated when rainfall was plentiful, bridging the gap until the next period of rain, which would refill the reservoirs.
In this way, capturing and storing energy helps to even out the unpredictable highs and lows of natural systems, and promotes a far more stable, even, and regular availability of resources. At the same time, it enriches a site without requiring any more inputs. Best of all, capturing and storing the energy that’s already available doesn’t require you to take resources away from anyone else. Again looking at the example of water, whether the water flows quickly over your property and onto your neighbors land or whether the water spends weeks slowly trickling through your ponds, the end result is the same: inevitably the water will flow off of your land and continue its journey to the sea. In fact, your downhill neighbor might actually gain access to more water thanks to your efforts, as they will benefit from both the overflow from your reservoirs and the increased groundwater produced by your systems. Not to mention, during a flash flood their property will be far safer if water flows slow and steady over uphill land, rather than rushing over the land and picking up destructive speed. These net-positive interventions in our environment, where both we and our neighbors benefit from the work of permaculture, are some of the only ways of creating a resilient and sustainable future as we prepare to support upwards of 10 billion people on our planet in the coming decades.

Photo by Pixabay on Pexels.com
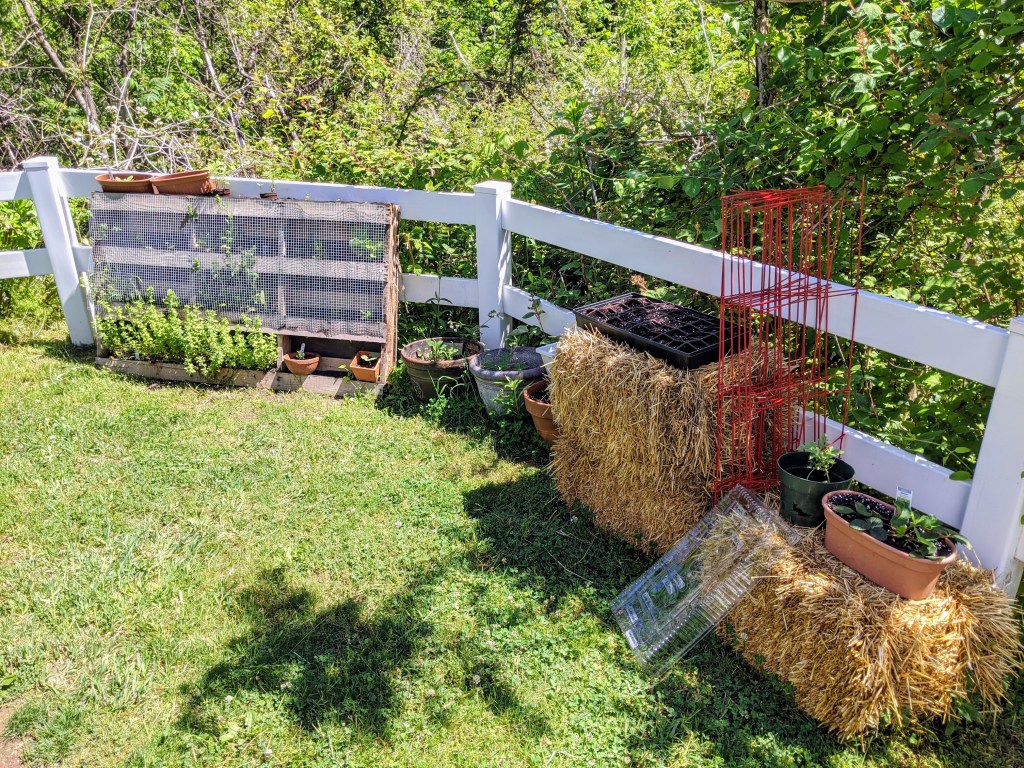
Catching and Storing Energy in an Apartment
If you’re living in an apartment or find yourself in any other living situation where you don’t have access to large amounts of land, you likely won’t have the opportunity to divert a river or build earthworks to capture energy, but that’s okay. Permaculture design is not about grand terraforming over multiple acres, but rather making the most of the resources that are already beneath your fingertips. By employing a few of the techniques from the first principle of permaculture design, “Observe and Reflect,” you’ll notice that quite a bit of energy flows through your home, no matter how small and humble.
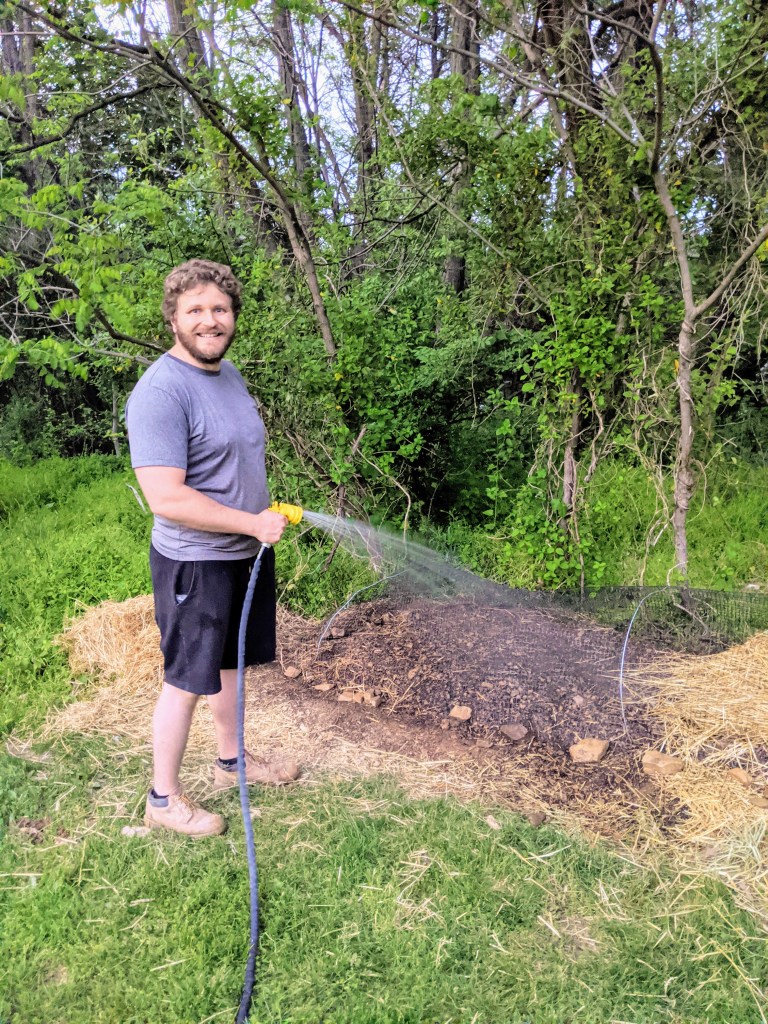
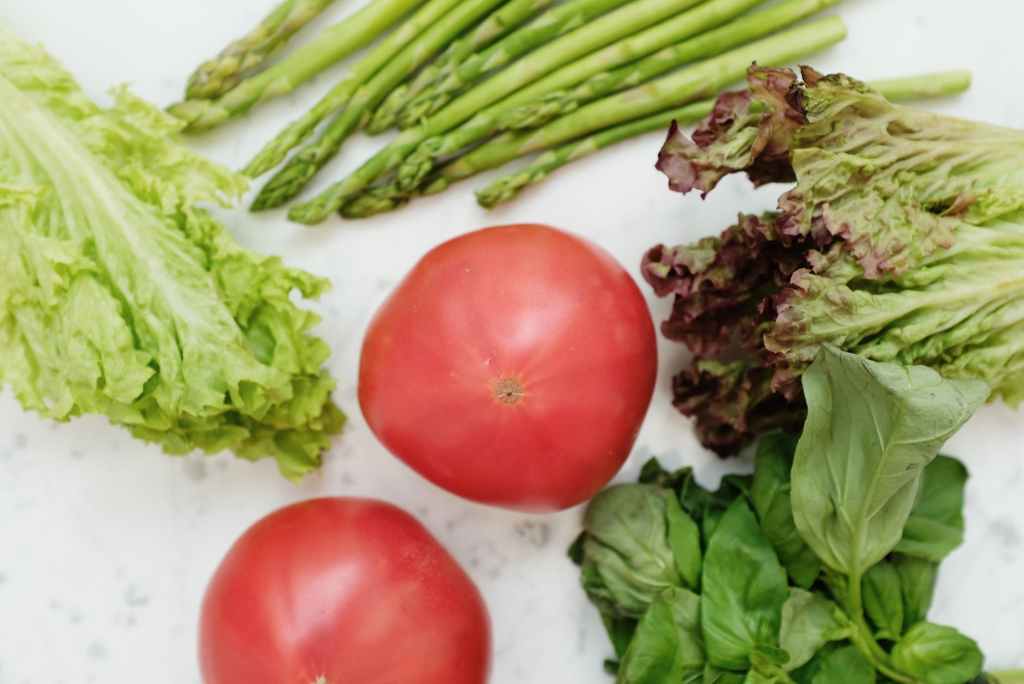
Making the Most of the Energy in Your Food
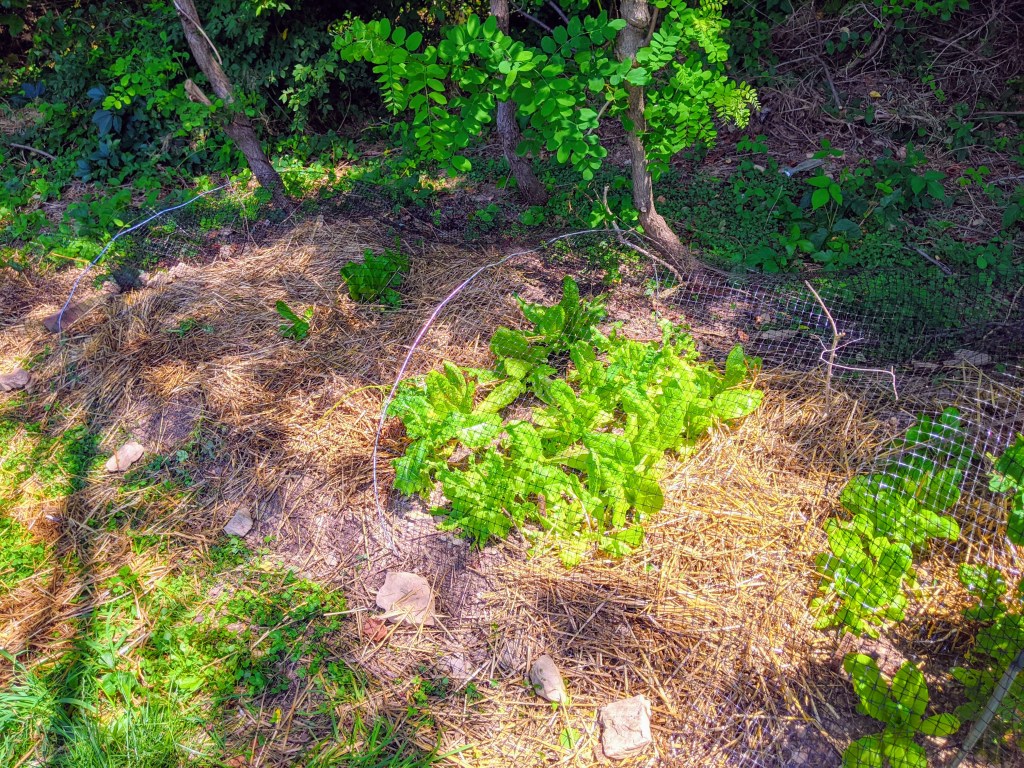
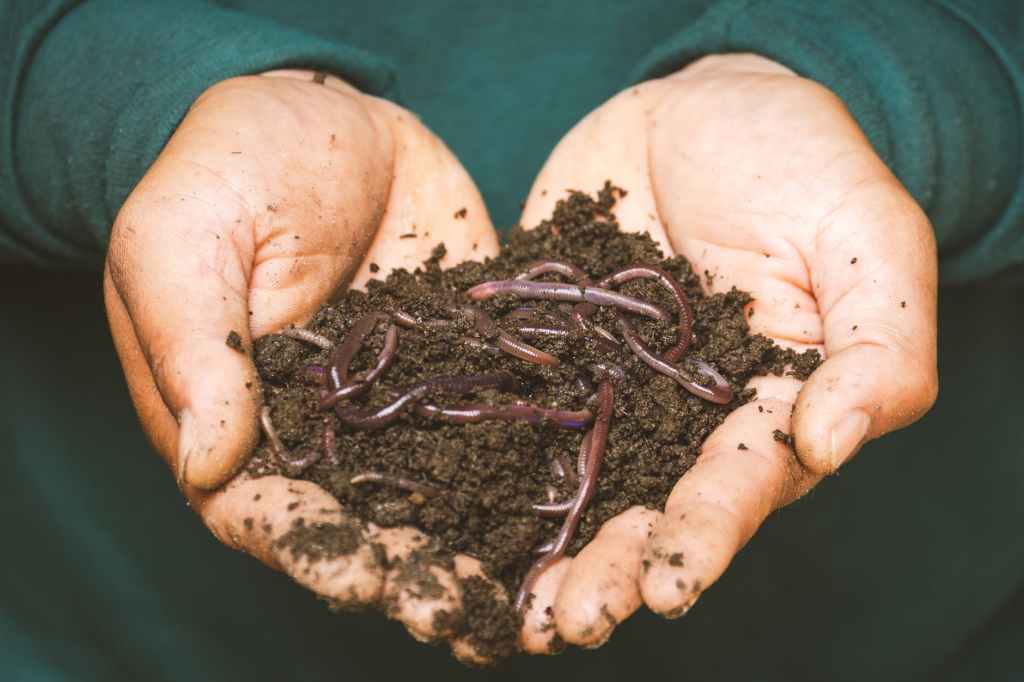
All of the food that you bring into your home is imbued with biological energy. Much of this energy goes into feeding you, but anything organic that you don’t eat still has the potential to feed something else, even if it’s just worms and micro-organisms. Rather than simply throwing food scraps in the garbage bin and taking them out of your home to a dumpster, you could compost these scraps in a small bin on your patio. Or, if you don’t have a patio, you could build a tiny worm bin and keep it in your kitchen (managed well, a worm bin shouldn’t give off any foul odors).

Photo by Sippakorn Yamkasikorn on Pexels.com
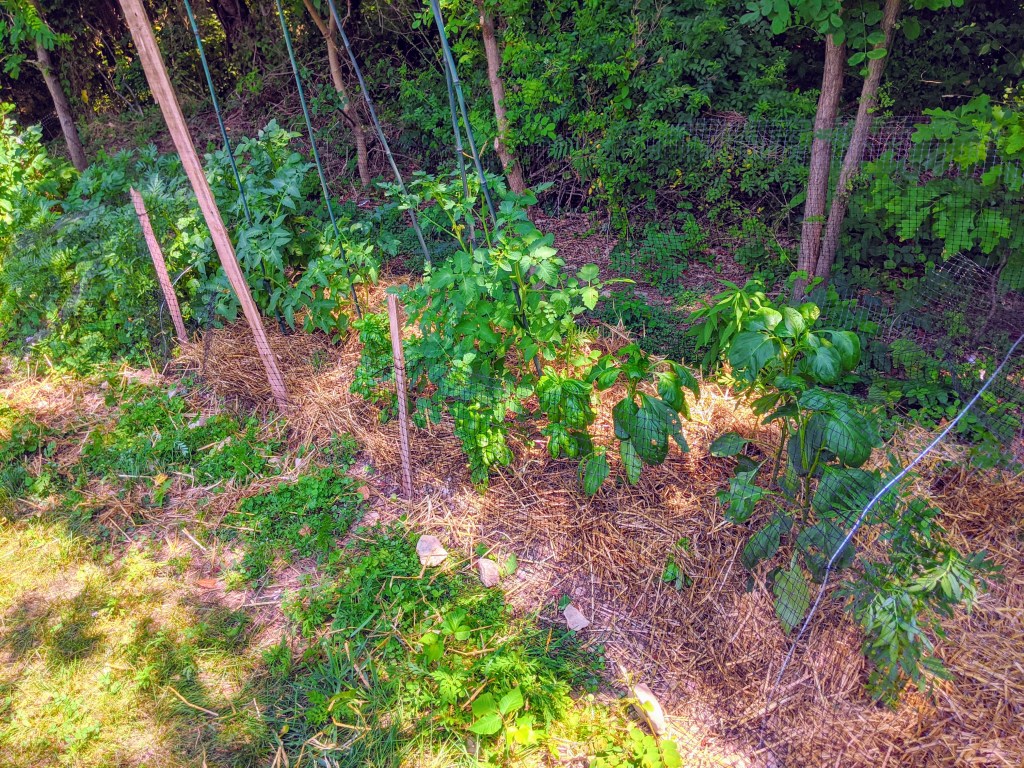
Then, rather than the energy in your food scraps being lost, it will be converted into compost, which can be used to feed plants. The plants will combine the energy from your compost with the light from your windowsill, and with any luck you can grow something that you can eat! In this way, the energy in food scraps, which otherwise would have been lost, remains near your home long enough to be converted into new food and power your body. Of course the new food scraps and trimmings from your plants can also find their way back to the compost pile, and the cycle will repeat. Through “closed-loop” processes like this, you capture and store energy in your home and decrease your need to import new energy from the grocery store.
The Value of Creative Energy
Another source of energy you can “capture and store” might be easier to overlook. It is the human and creative energy of the friends and loved ones you invite into your home. If you have a smaller home but still enjoy hosting friends, chances are you have a much higher ratio of creative energy to space than most farms or larger properties. This increased concentration of human potential is a valuable resource, particularly when viewed through the lens of social permaculture. Don’t underestimate this asset just because it’s not as obvious and tangible as a river! Your situation right now offers you opportunities for connections and growth that aren’t available to anyone else, and it is our role as permaculturists to recognize and make the most of these opportunities!
We all hold tremendous creative potential and a desire to express ourselves, but we often keep these more expressive activities to ourselves. What if, instead, we invited our friends over to create art or plant seeds or work on any other collaborative project? It makes the work go by much faster, it offers a great opportunity for storytelling and idea sharing, and the projects you work on with friends will always hold an extra layer of meaning when you look back on them in the future. Not to mention, it offers a chance for you to teach and learn from one another in the type of free exchange that’s often undervalued in our society but which forms that backbone of many community-centered cultures.

Photo by Tatiana Syrikova on Pexels.com
By inviting your friends to participate in creative projects, group learning, and mutual help while they are in your home, you effectively “capture and store” some of their creative energy that otherwise might have flowed through your home untapped. Developing this skill over the course of a lifetime (or even just a few months), you stand to find yourself as a hub of connection that brings people from different walks of life together to build stronger communities that are mobilized to make a positive impact on the world, for both people and the environment. These “soft” assets can be even more powerful than a field filled with biointensive gardens when it comes to shaping the future, and the best part is that you don’t need to wait until you own a 5 acre property in the countryside to get started!
Tying It All Together
Whether you have a stream of water or a trickle of good companionship running through your home, we all have sources of energy that could benefit from being appreciated, captured, and put to productive use. It’s this ethos of valuing what we already have, making the most of it, and harnessing our efforts to make the future a more beautiful and abundant place that lies at the heart of permaculture, and it’s a powerful piece of your permaculture design toolkit, regardless of where you might find yourself in life. Master this skill, and you’ll find that true abundance comes not from the ability to buy ever-increasing hoards of resources from outside your home, but rather from working with nature to capture and store the abundance that’s already in your life!